How to transfer data from Xhorse Mini Prog to other Xhorse tools or share with other objectors after data has been read and saved? Check the step by step guide.
Part 1: Read EEPROM
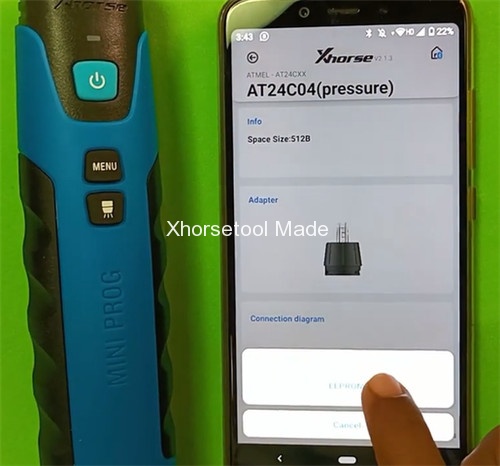
Select “EEPROM and FLASH” > the corresponding adapter manufacturer > series > model
e.g. ATMEL > AT24CXX > AT24C04 (pressure)
Then tap “Read” to read EEPROM
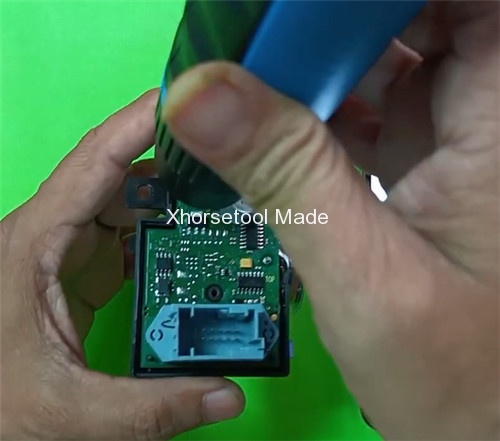
Connect VVDI Mini Prog and the adapter
When read data successfully, it will appear green tick icon at the top of VVDI Mini Prog
Then click “OK” to save the file
Part 2: Transfer data
1.Transfer data from local file to my data
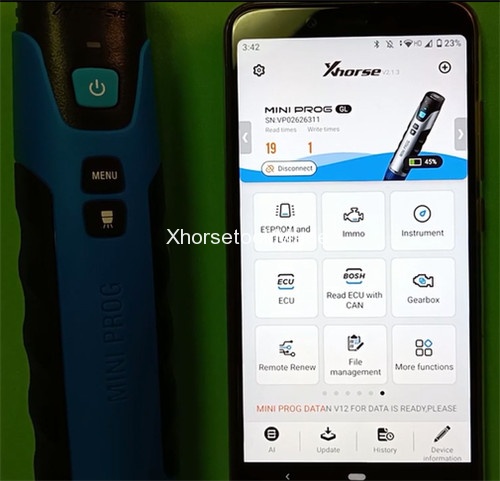
Back to MINI PROG main menu
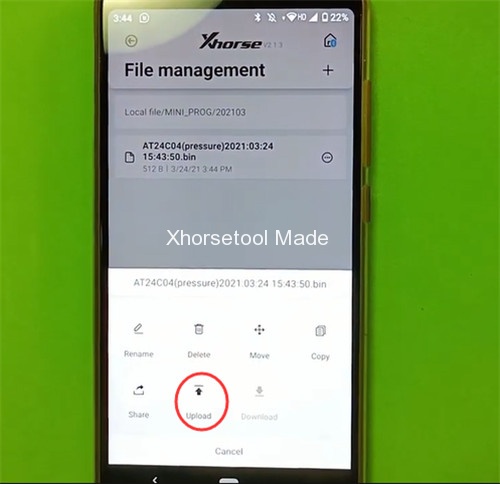
Select “File management” > “Local file” > the original EEPROM data just saved
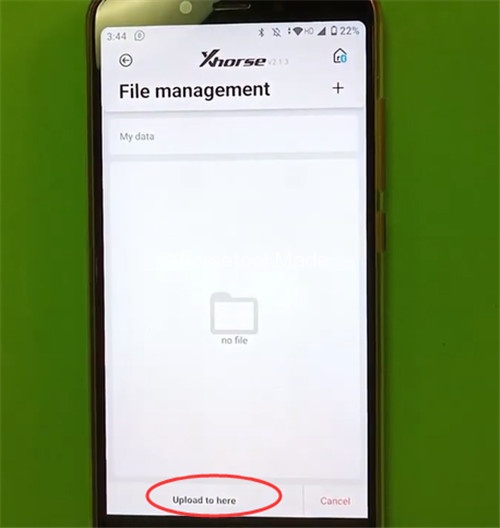
Tap the file and click “Upload” > “Upload to here”
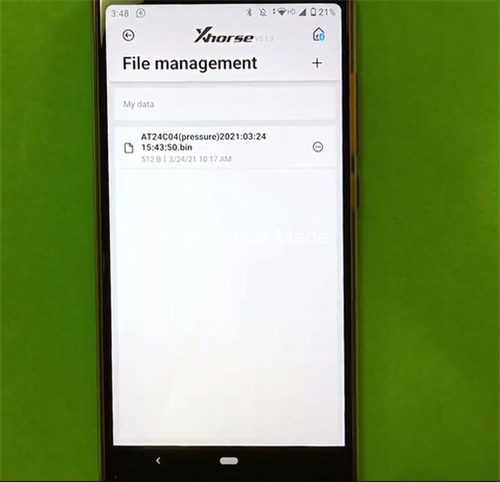
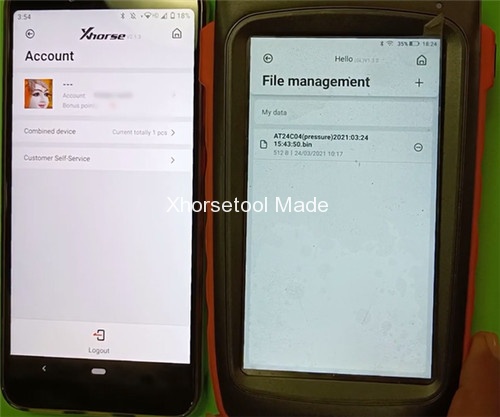
Back to File management and select “My data” to check if it has been uploaded successfully
2.Upload data to Xhorse server
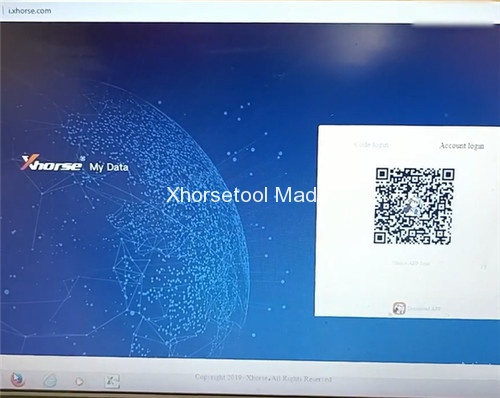
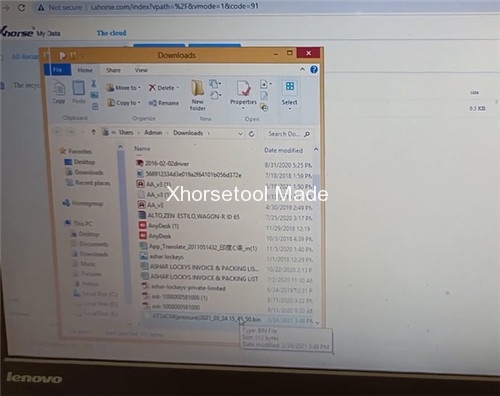
Access to i.xhorse.com on computer, you need to login by scanning QR code or via available account has been registered
Click “Quick login scan PC QR code” on Xhorse VVDI Mini Prog to scan QR code directly
When login the website successfully, click “Download” after the corresponding file
Now the data is successfully uploaded to server.
Part 3: Share data
1.Share data with others
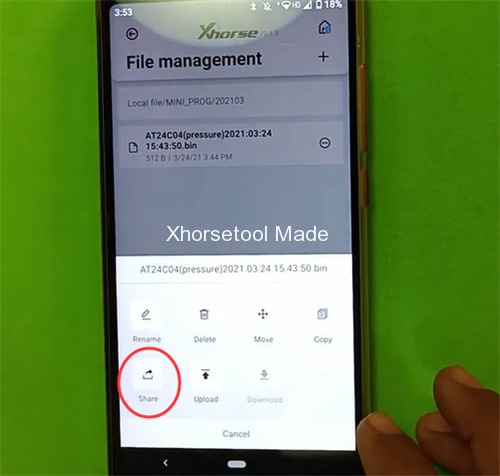
Back to file management menu, go to local file/MINI PROG/the data file saved in step 1.
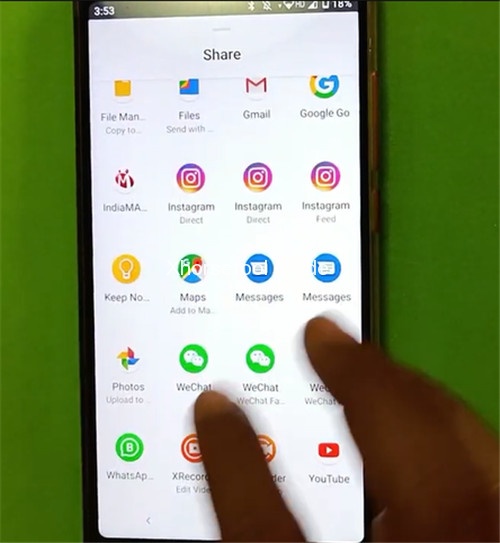
Click “Share” and send to object you want to share with, such as WhatsAPP, WeChat, etc.
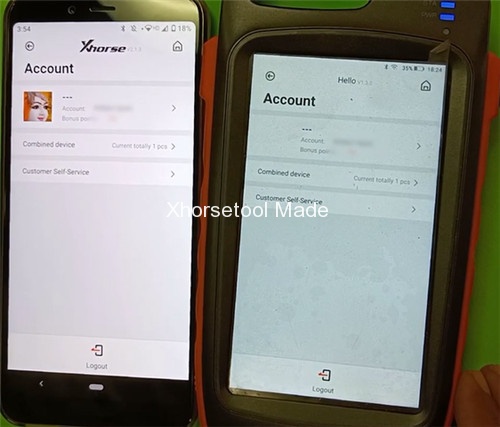
2.Share data with other xhorse tools
Combine the account to xhorse tools such as VVDI Key Tool Max, then you can see the related files synchronously.
Done!
If you have any question about Xhorse VVDI Mini Prog chip programmer, please feel free to contact us.
Email: Sales@xhorseTool.com
Skype: VVDI2shop.com
Whatsapp/Tel: +86 13343421783
